How to Install Vuze
Find out how to install and configure this P2P downloads manager formerly known as Azureus.

Date: 2014-08-01 11:17:15
By:
In order to follow this guide you will need to download Vuze. Please click the green button below.
To install Vuze we will need to first do double click on its executable file. In case we still don’t have Java JRE installed on our computer or if its version is older than 1.5, a warning message will pop up saying that we need to allow its automatic download:
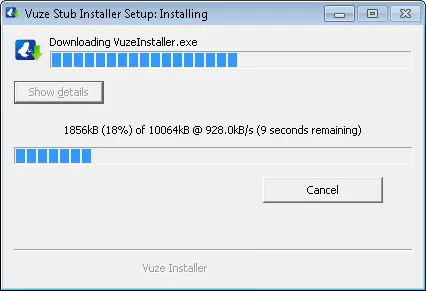
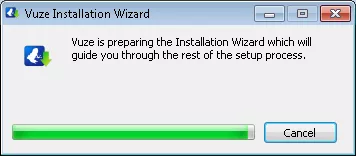
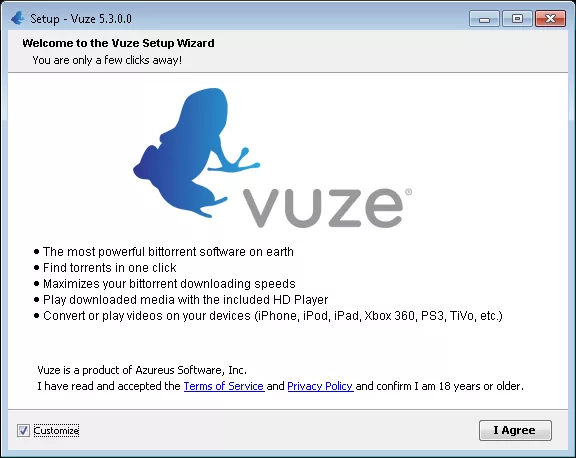
After downloading all the necessary files, the installation process itself will finally start. As we are going to go through a personalized installation, we will have to mark “Customize” option in the lower left part of the window and then press “I Agree”.
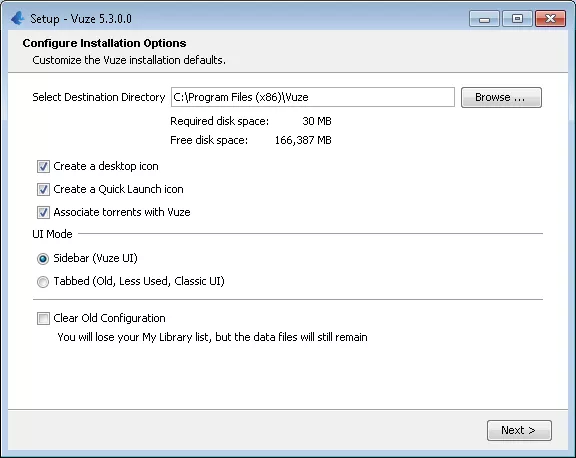
In this next step we can choose to create a desktop shortcut and a quick launch icon for Vuze (formerly Azureus). Here we can also choose to associate torrents with Vuze and set the installation directory for the program.
Apart from that, we can also install browser toolbar Vuze Remote which will allow us to search and download files right from the browser.
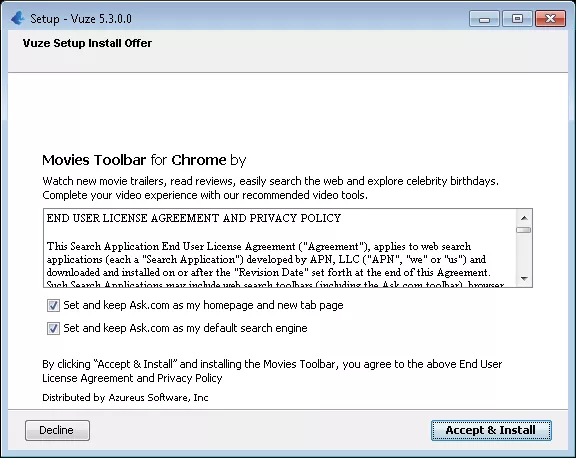
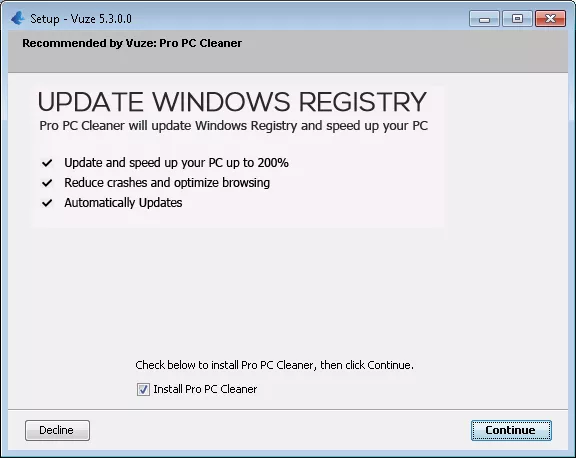
The installation assistant will also ask us to download some other external software, which may be optional for each case, but for this exact installation and setup guide it’s completely necessary.
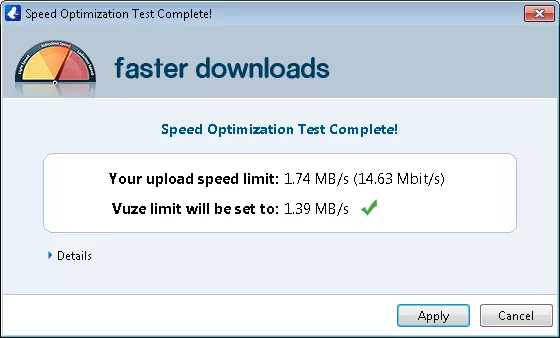
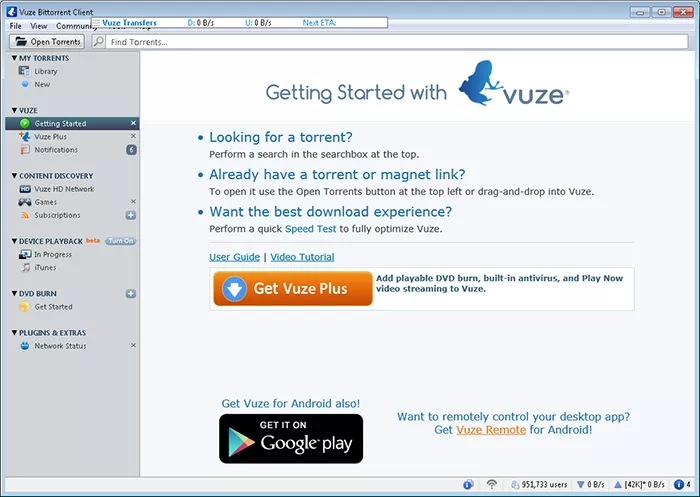
Now the assistant will copy all the necessary files and we will be able to start setting up the program and then download files. First of all, when starting Vuze, a speed optimization test will be carried out to adjust download and upload speeds to the actual internet connection speed we have at the moment. When this test is finished, we will click on “Apply” and this will finally get us to the main program window.
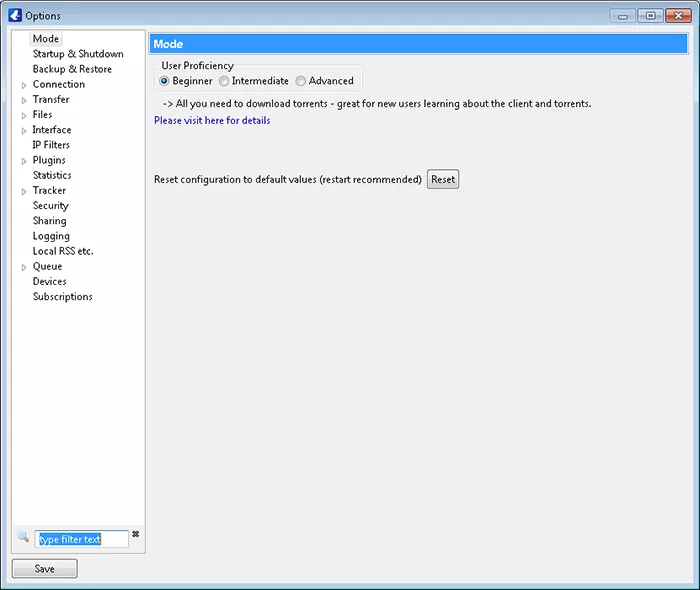
To keep on with the setup process we will go the “Tools” menu on the upper toolbar and then “Options”. As we can see here there are three main modes for user proficiency: beginner, intermediate and advances. As this guide is mainly focused on how to setup Vuze to use it as a P2P downloads manager, we will simply choose the “Beginner” mode.
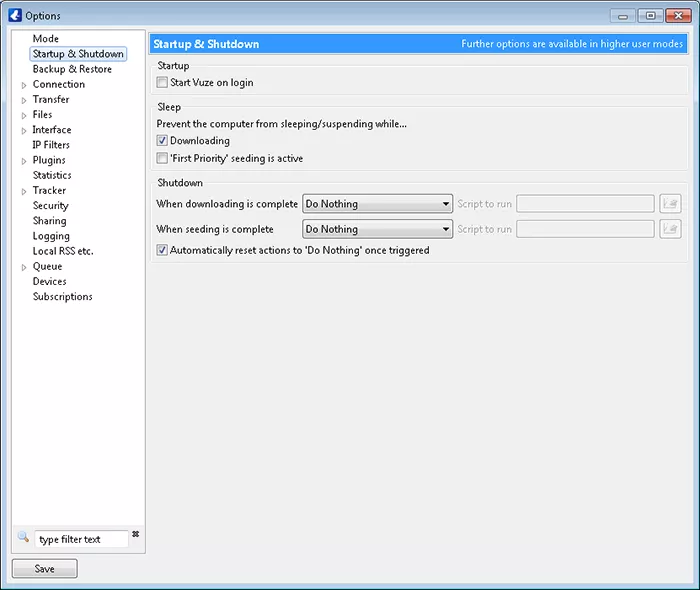
On the left toolbar we can see different sections necessary for initial Azureus or Vuze setup. “Startup & Shutdown” tab allows us to make the program start automatically together with Windows, prevent the computer from sleeping when downloading something or shut down Vuze when all downloads are ready.
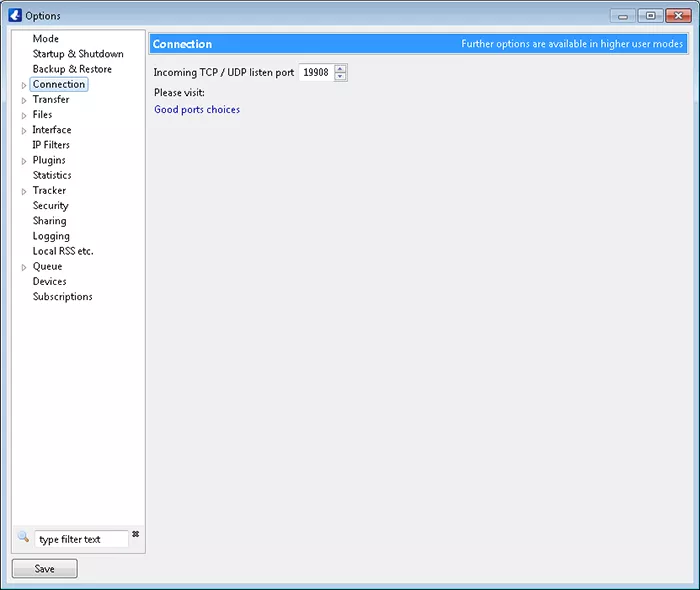
“Connection” menu allows us to setup the most important parameter for correct functioning of the program which is the Incoming Port. Here we will need to put a port allowed by our router for incoming and outgoing connections. This is very common for all P2P programs like Ares and uTorrent as well.
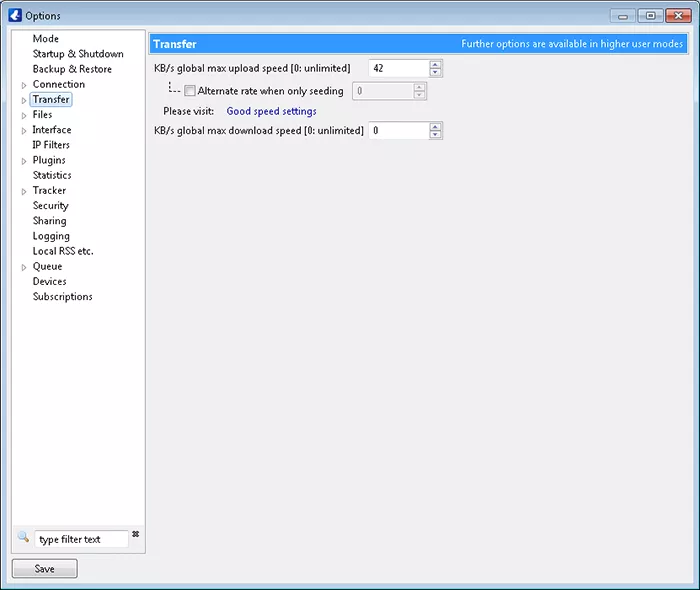
Yet another very important setting is “Transfer”. Here we can set max speed for download and uploads for avoiding connection overload.
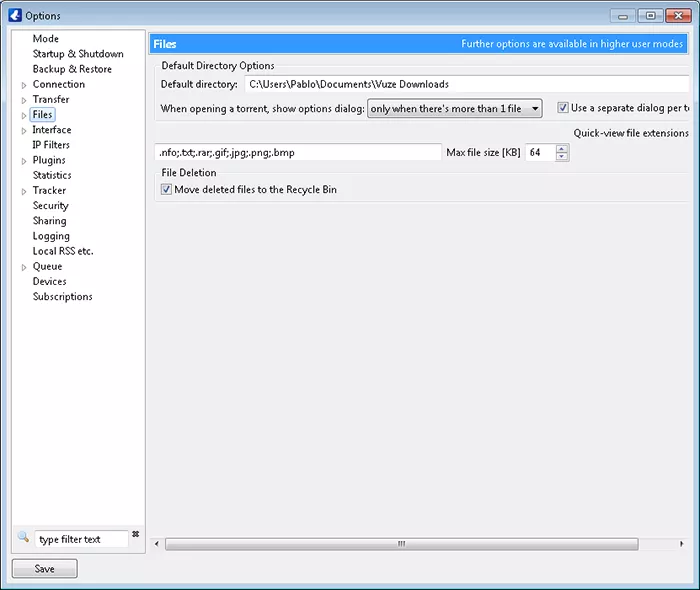
In “Files” tab we can specify in which folder the downloaded files are going to be stored or configure the program to ask for it each time we download something.
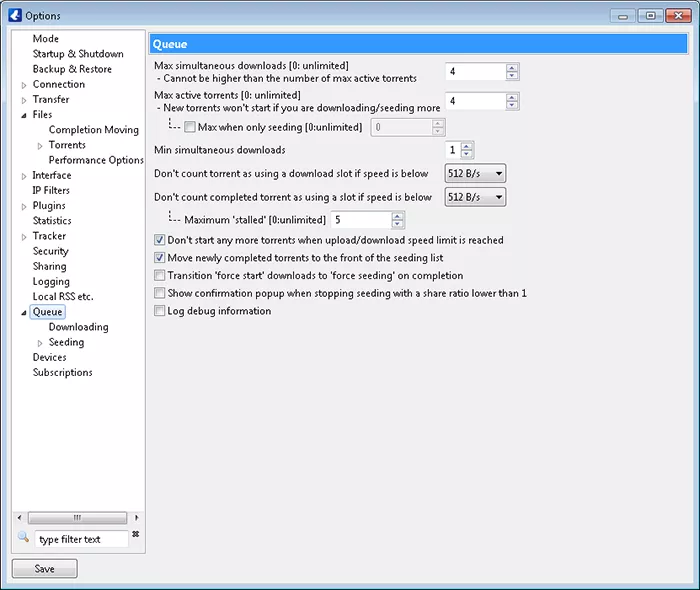
And finally in “Queue” section we can set limits for simultaneous downloads. The higher the limit is the more files can be downloaded at the same time.
There are other options like “Interface” where we can personalize the aspect of Vuze, but these features don’t affect the functionality of this bitTorrent client. There are other programs that have similar features to Vuze, or Azureus, with a similar setup system and main options. You can download other free P2P download managers here on Rocky Bytes!
How to Use Vuze
In this tutorial you will learn how to use Vuze for downloading and sharing BitTorrent network files
Vuze is a P2P BitTorrent client, formerly known as Azureus. You don’t need to know much to be able to use this program. If you tried other BitTorrent clients like uTorrent or the official client of this ...


