


Game Streaming Guide: How to Grow your Streaming Community on Twitch.tv


Last time we went through a full guide on how to get started and set up for streaming your videogames online on Twitch.tv. We went through the different software you can use, such as XSplit or OBS, and how to prepare everything for your first broadcast: creating a scene and adding sources — game, camera and others.
This time around we’d like to focus a bit more on the actual experience of broadcasting game content, on being a good host and making sure everyone is having fun to ensure you can grow your streaming community on Twitch. But as we’re a software directory, we’ll also go over some of the best tools you can use for setting up your channel.
The following are some of the most effective growth techniques for broadcasters on Twitch.
Hosting 101 – Grow your channel on Twitch
Second, be respectful. As the channel owner, you can set down ground rules for respect, but there will always be people that won’t follow them. And if there’s something that everyone knows by now is that the internet can be a scary place in terms of verbal abuse. If you have a disrespectful viewer, do not let them provoke you. Always stay on the higher ground. Remember you’re the one on video, not them.
Finally be consistent. Keep a schedule. Set the times and days you’ll be broadcasting. It helps your audience know when you’ll be streaming content. Sure, you can have impromptu sessions, but it helps if you have a defined set of days, something predictable. You need for your audience to know when you’re online. This one in particular is key to growing your Twitch community of fans.
Recording
Jumping straight into the broadcasting pool can be scary and daunting, but you don’t need to do it all at once. You can practice and work on some of your weaknesses (conversation tone, language, etc.) by recording yourself playing games and the paying it back. You can also upload them privately to YouTube and get feedback from others, people you trust to always be honest with you. It’s better to practice first, it makes growing your channel on Twitch that much easier as you’ll have more confidence on screen.
So how do you go about recording? First you need a lot of storage space. Local videos tend to take up a lot space on your hard drive depending on the video’s quality. For high quality HD videos, you usually need 1.5Gb per every hour of play recorded.
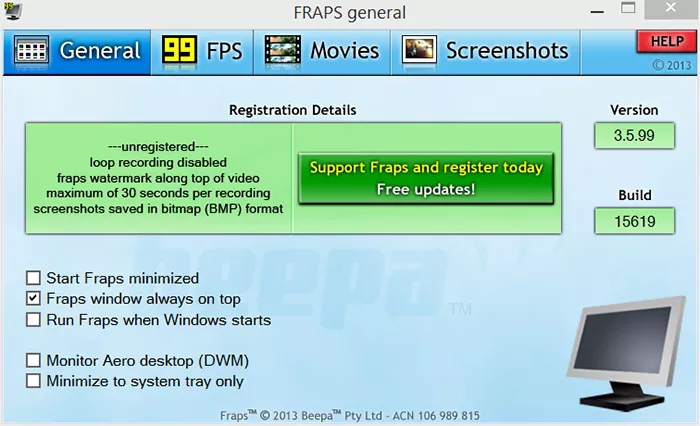
Second, you need the software. We’ve already covered XSplit and OBS in the past, but there’s another popular one you can use for just local recording: Fraps. Fraps is different from others as you don’t need to add the game source. Instead, it will always capture whatever is using your screen. You can tell Fraps is working by the framerate counter on the top left part of the screen on whatever you’re playing.
Just start your video with Fraps by setting up and pressing the hotkey for video recording. Once you’re finished, just press the recording key again and go check on your video! You can check your performance, take notes and then try again later, over time perfecting what will become your internet persona.
And Fraps? It’s amazingly easy to use. Just download, install, configure the folders for each type of recording and set up your hotkeys. It does the rest for you.

--> Download Fraps <--
With XSplit and OBS it’s a bit more complicated:
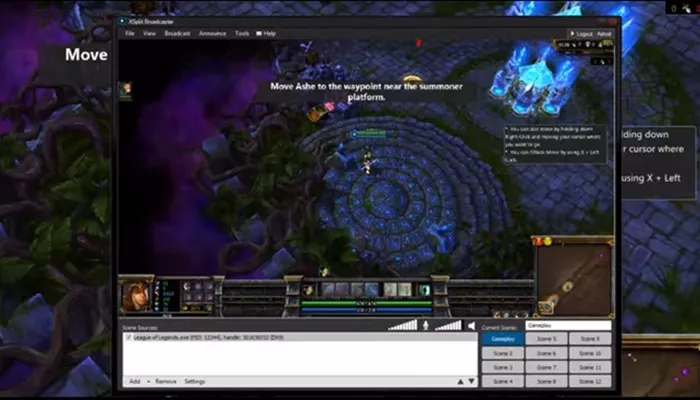
XSplit
- Set up your scene the same way we described in the past guide.
- Click on Tools -> My Recordings and it’ll show your recorded videos and the folder it’s using to save them. Edit the path if you like.
- Now click on Broadcast. You will see Local Recording there but click on the gear first to set up the video and audio quality for the recording.
- Finally click on Broadcast->Local Recording to begin.
- When you’re done, perform the previous step again.

--> Download XSplit Broadcaster <---
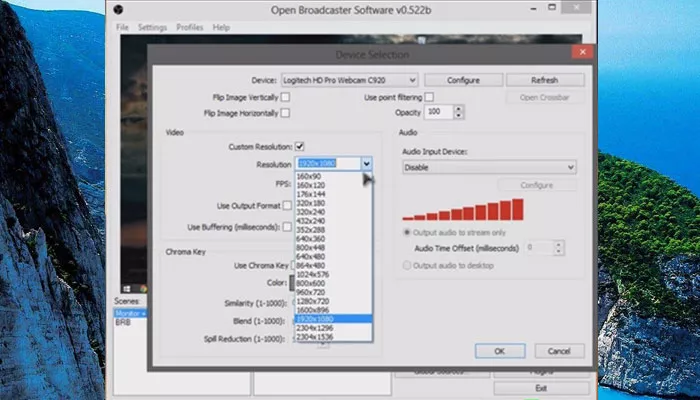
OBS
- Set up your scene following the steps on our previous guide.
- Click on Settings -> Settings.
- On the left hand menu go to the Broadcast section.
- Set the file-path (including file name) for your recording. You have to change the file’s name between recordings. Otherwise, it’ll keep overwriting it.
- On your scene’s window, press Start Recording.
- Once you’re done, press Stop Recording.
Recording is a useful tool, not only for practice, but you can also start building an audience with recorded videos on YouTube before moving on to Live Streams. If you can build a YouTube audience, they’ll follow you to the other platform and help you grow your Twitch channel as well.

---> Download Open Broadcaster Software <---
Moderating
Once you’re in full swing with your channel, with regular videos and viewers, you’ll need people to moderate your chat, to enforce your rules. There are two types of moderators:
- People: Get other users to moderate your channel, people you trust.
- Automated Moderators: You can use services such as Moobot, a web automated moderator for Twitch. From its dashboard, you can set the stream name, set rules, polls, and the moderator’s behaviour. It’s quite versatile.
Overlays
The last bit of advice for this guide is the use of Overlays. What are they? Overlays are custom images that you place on your scene. These images often include artwork, some important contact information (such as your social media profiles) and anything else you want to include. The most common way to implement overlays is taking the custom image and cut 2 rectangular holes on it, one for your camera feed (if you’re using it) and another for your game source.
Properly implemented overlay can add character or charm to your broadcasts but bad ones can be distracting, so be careful with their use as it can have a negative impact on your efforts of growing your Twitch channel.
That’s it for this second guide. Hope we’ve given you some cool information on how to grow on Twitch, XSplit, OBS and even Fraps! Let us know what you think in the comments!


Zona VS PopCorn Time: Which is the winner?
Let’s be real. Who watches TV nowadays? Why would you let anyone else choose what you are going to watch if you can choose it yourself? When we think about movie nights (we all need them in our lives) going to the cinema is a greatest of options, I’m not going to lie. But who’s got the ...

4shared Releases an improved Music Player
The popular file-hosting service has officially announced the release of its online music player. This new feature is aimed to let users stream music online at 4shared.com with no need to add the tracks to their 4shared accounts. In order to make the music selection fit every user’s taste, the new ...

Game Streaming: A Guide into Broadcasting your games to Twitch.tv
Streaming is such a loaded word. It can mean anything from music to films to even games. While the first two are incredibly fun, and we all go around YouTube for the latest cat video, this guide is about the last one: games. Stream games: How to livestream on Twitch If you’ve never heard or read ...